Lost Judgment: Chapter Four Walkthrough
Here’s the solution to every Active Search, Observation Mode, and evidence sequence in Lost Judgment’s Chapter Four: Red Knife.
You Are Reading :Lost Judgment Chapter Four Walkthrough

Quick Links
The plot begins to thicken even further in Chapter Four of Lost Judgment. Right off the bat, you’ll be heading back to Seiryo High School to find out more about the murder of Mikoshiba. You’ll also be introduced to two new detective gadgets in this chapter, so there are a couple of mandatory side cases you’ll be picking up too.
For this guide, we will not be covering the straightforward parts of the game, and instead will highlight the more important sections that you might find yourself getting snagged on, such as looking in Active Search or Observation Modes, answering questions, and selecting evidence. Naturally, there will be spoilers.
Look for an Entry Point (Active Search Mode)
While standing in front of the crime scene building, you can also examine the following:
- The lock on the door to the crime scene.
- The window above the door.
- The window to the left of the last one.
- The open window to the left of the last one.
However, none of these will help you. Head to the left and go into the play park with the strange concrete mound.
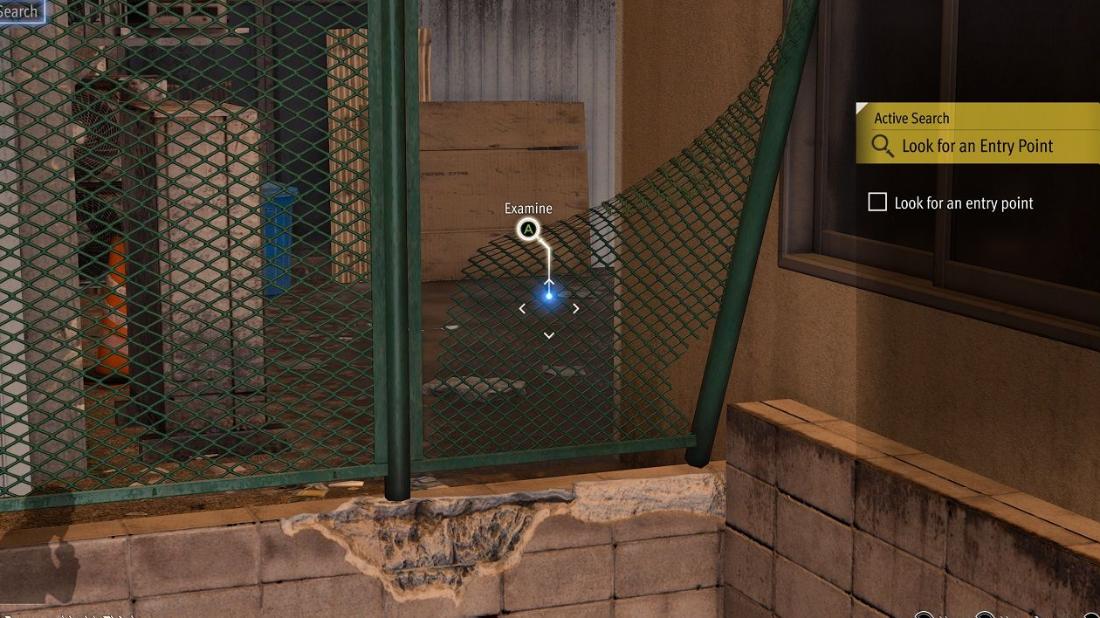
- Examine the broken green fence to the back right of the playpark.
You’ll automatically head to the back of the window and spot an open window, now you just need to find a way to get up there.
- Examine the A/C units directly behind you.
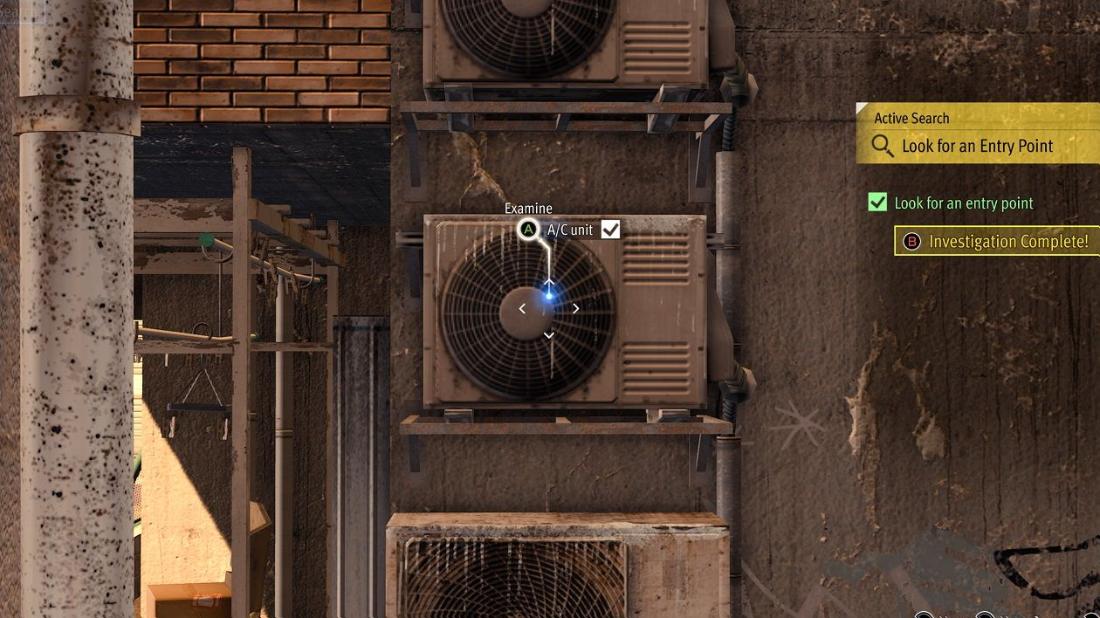
(Optional): You can also examine the following if you wish to:
- The slab of concrete on the left when facing into the alley.
- The window on the right when facing into the alley.
Complete the investigation and parkour up and into the building, where you’ll soon be thrown into another Active Search scene.
Investigate the Scene (Active Search Mode)
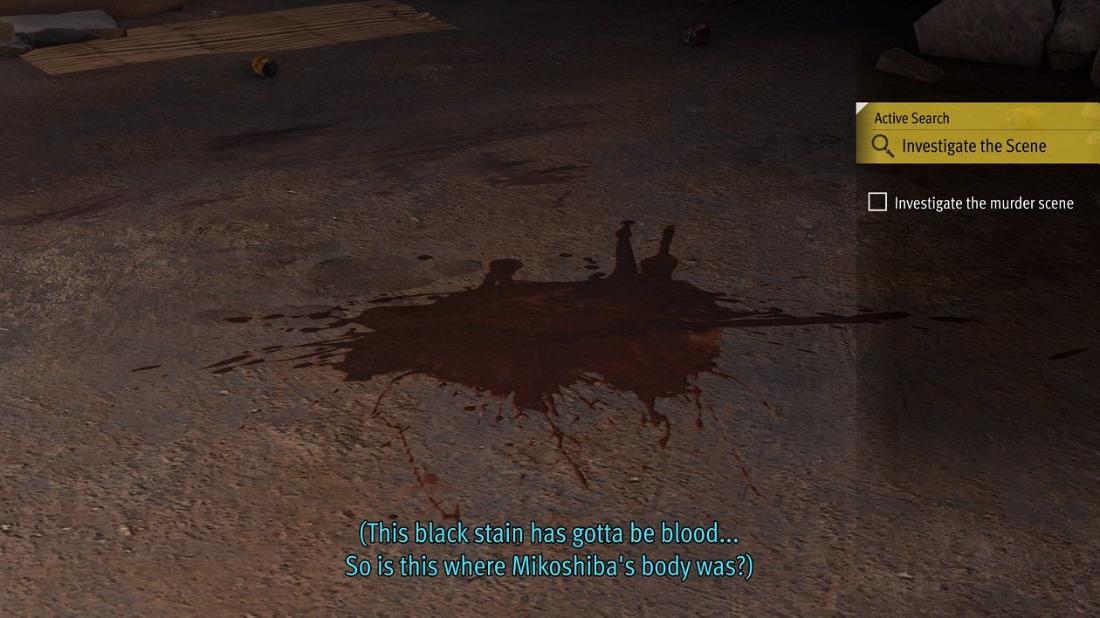
You need to examine the following:
- The blood splatter on the floor.
- The arrow on the floor.
(Optional): You can also examine the following:
- The footprints on the floor in front of you and behind you.
- The open window on your left.
- Multiple sections of rubble on the right.
Which Evidence Should You Show To Watanbe?
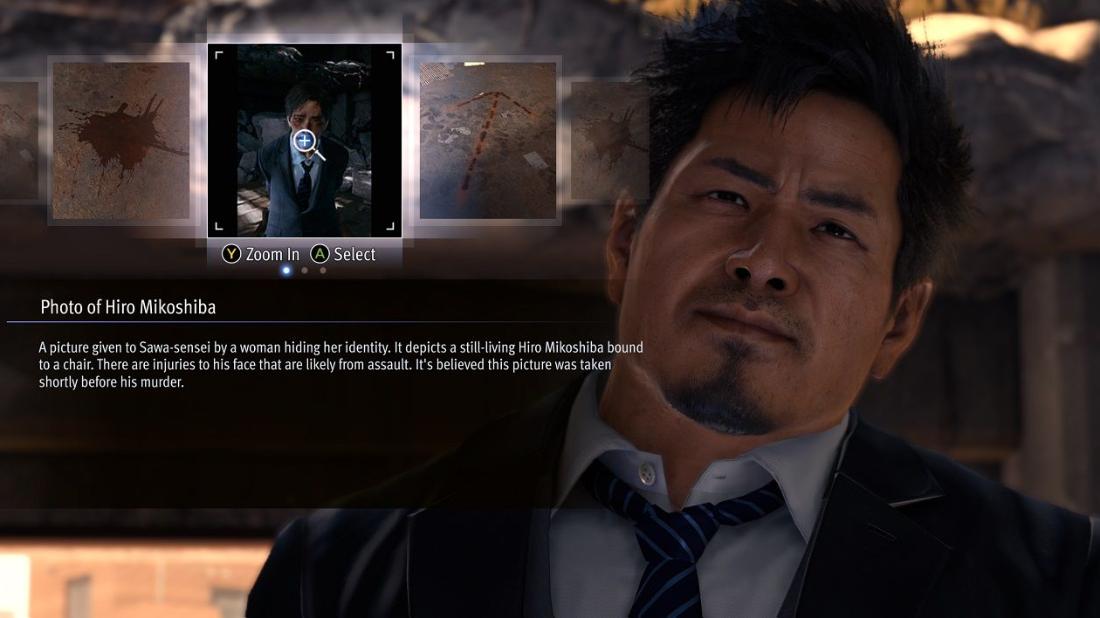
- You want to select the “Photo of Hiro Mikoshiba”.
Show How Trustworthy You Can Be (Evidence)
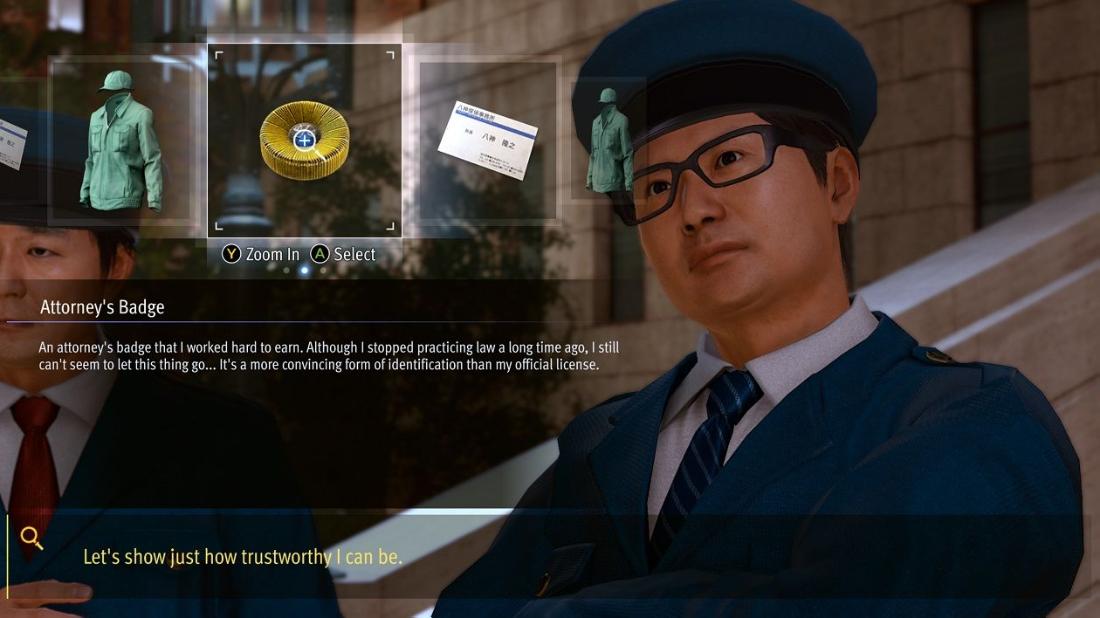
You need to clear Tsukomo’s name and to do that you need to prove you are trustworthy.
- The item you want to present is your “Attorney’s Badge”.
Search for the Bug in the Parking Lot (Observation Mode)
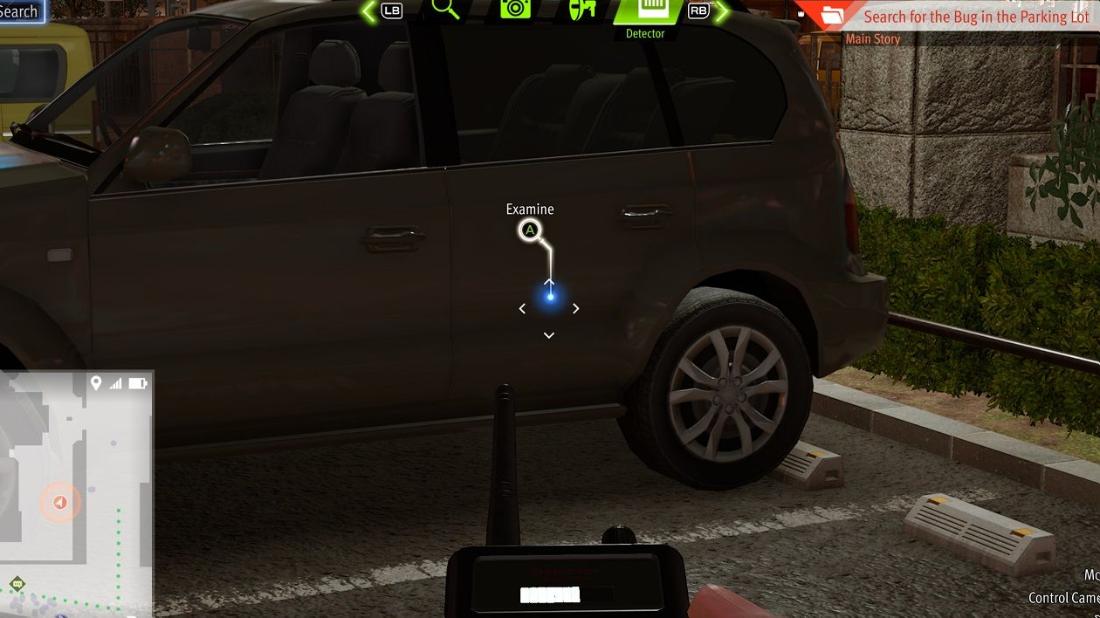
This side case is mandatory as it acts as an introduction to the Detector gadget. Go into Observation Mode and then switch to the Detector.
The bars on the Detector will increase as you near your target and they will also flash when you are facing the correct direction.
- On the opposite side of the large building from where Tsukomo is standing, you can find a car that you need to examine.
Investigate the Train Car (Active Search Mode)
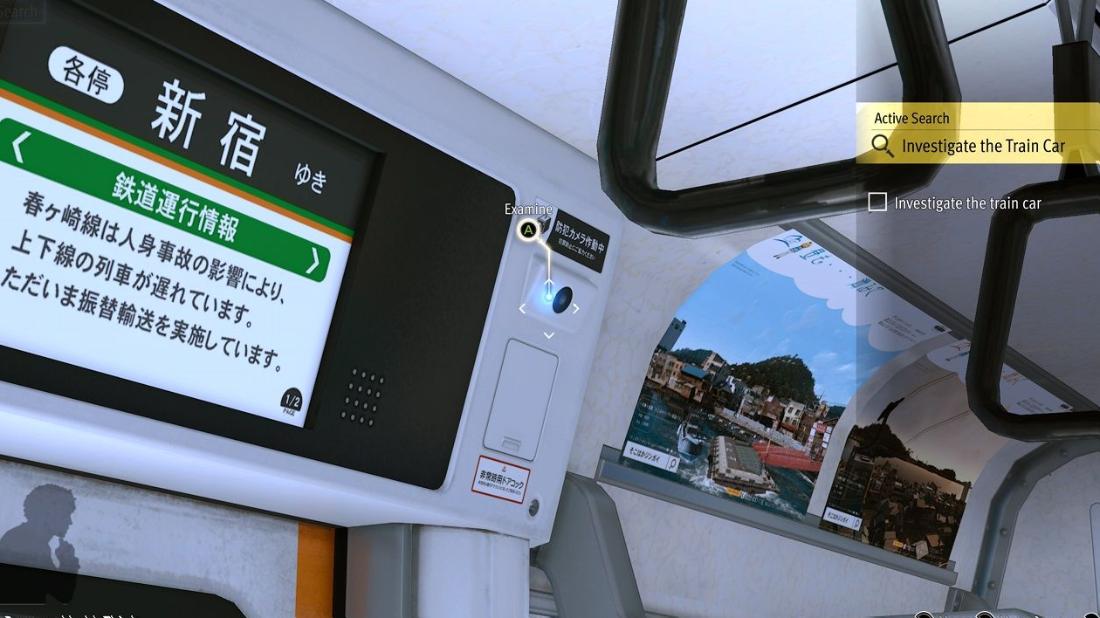
You’re revisiting the scene of the sexual battery, here are the things you need to examine:
- The man to the left of Hoshino or the man behind you.
- The window.
- The footage on the tablet that Hoshino is holding.
- The camera to the top right of the train door on your right (if you are facing Hoshino).
(Optional): You can also examine Hoshino.
Search for the Security Cameras Part One (Active Search Mode)
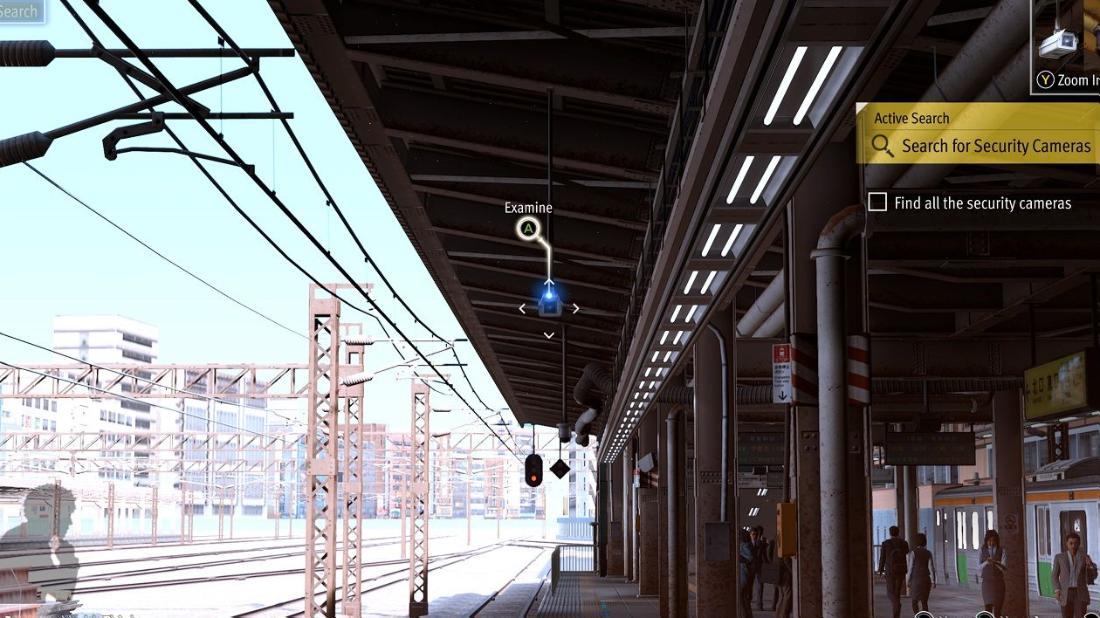
- Turn left from facing Hoshino and examine the camera facing the stairs behind him.
- Turn 90 degrees left and examine the camera in front of the clock.
- Turn 90 degrees left again, so you are facing the same direction as Hoshino, and examine the camera beside the train.
- Move past Hoshino and examine the camera down past the stairs.
- Move to the opposite side of the stairs from Hoshino and examine the camera down past the stairs.
Search for the Security Cameras Part Two (Active Search Mode)
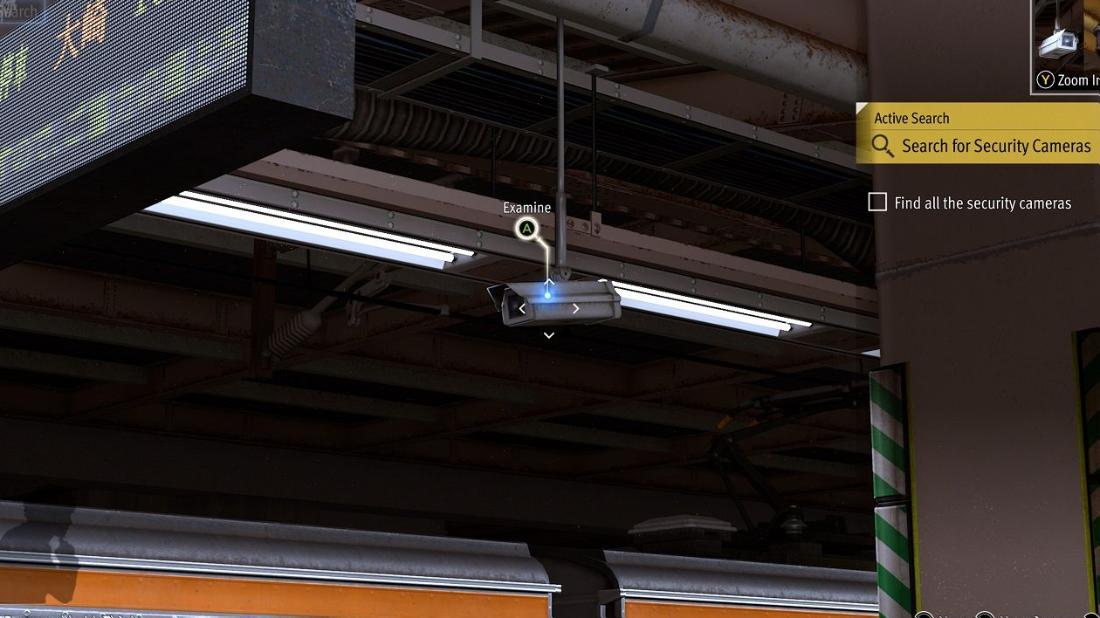
- Examine the camera in front of you, when facing down the platform away from Hoshino.
- Turn 90 degrees left and examine the camera behind the stairwell.
- Turn 90 degrees left so you can see Hoshino, and examine the camera in front of you.
- Move to the other side of the staircase and examine the camera there.
- Turn around and walk further down the platform to the next set of stairs, turn 90 degrees right and examine the camera in front of the stairs.
- Turn 90 degrees left and continue heading towards the red barrier further down, examine the camera beyond it.
- Turn to face the train on your right, and there will be a camera to the right of the screen somewhere.
Search for the Security Cameras Part Three (Active Search Mode)
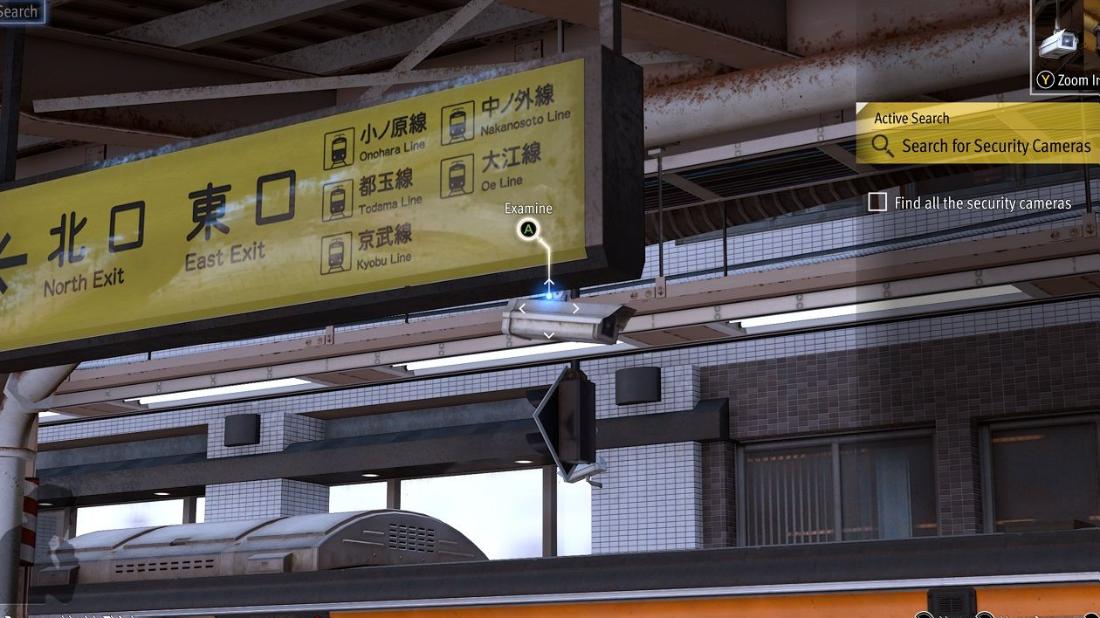
- Assuming you are on the opposite side of the platform from where Hoshino was. Look above you for your first camera.
- Look to the left, towards the train, for your next camera.
- Just to the right of that one, possibly hidden behind the yellow sign, is the next camera.
- Move forward down the platform and examine the camera in front of you.
- Move forward and then look to the center of the platform to find the camera in front of the clock.
Is there anything I can take note of? (Evidence)
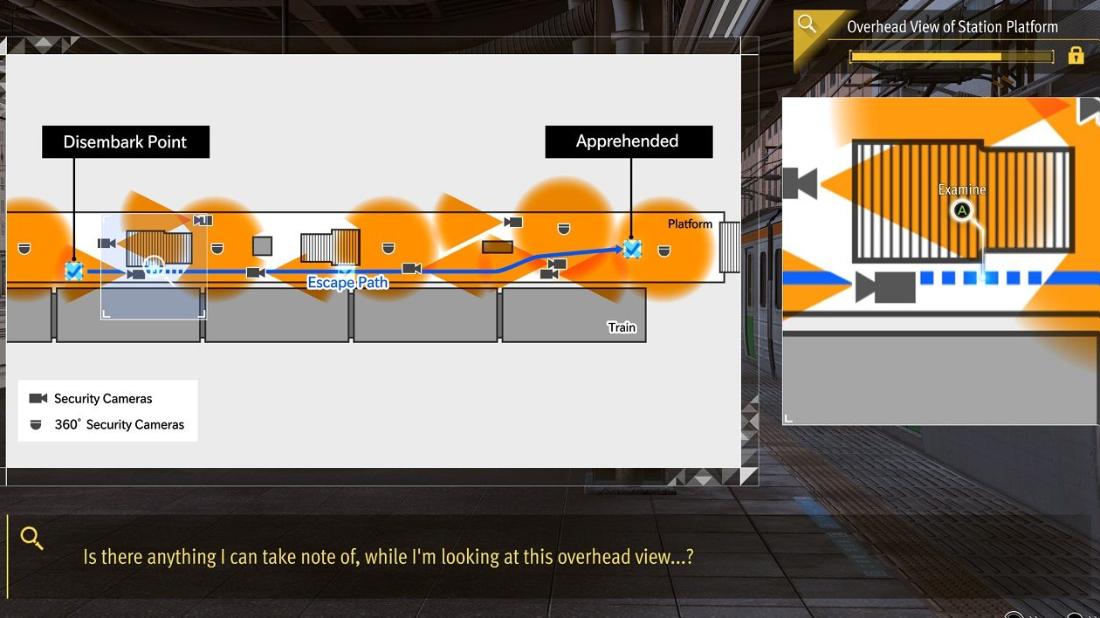
Examine the following:
- Where Ehara disembarked.
- The escape path.
- Where Ehara was captured.
- The dotted part of the escape path that signals a blind spot.
Show a Piece of Evidence the Police Don’t have (Evidence)
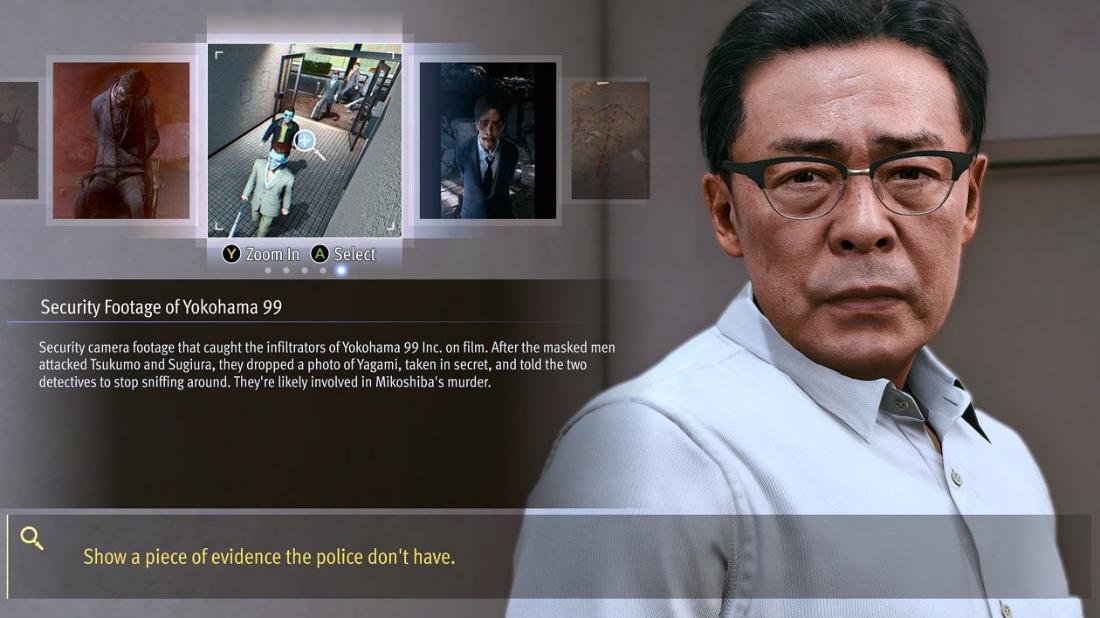
When you go to visit Ehara in prison, you need to show him a piece of evidence the police don’t yet have.
- Select the “Security Footage of Yokohama 99”.
Link Source : https://www.thegamer.com/lost-judgment-chapter-4-four-walkthrough-active-search-observation-mode-evidence-solutions-guide/
